Brick Builder MCP App
A Three.js MCP App for designing 3D brick constructions inside MCP-enabled hosts like Claude Desktop and Visual Studio Code. Build interactively or let the AI build structures for you through natural language.
Quick Start
·
Connecting
·
Tools
·
Extensibility


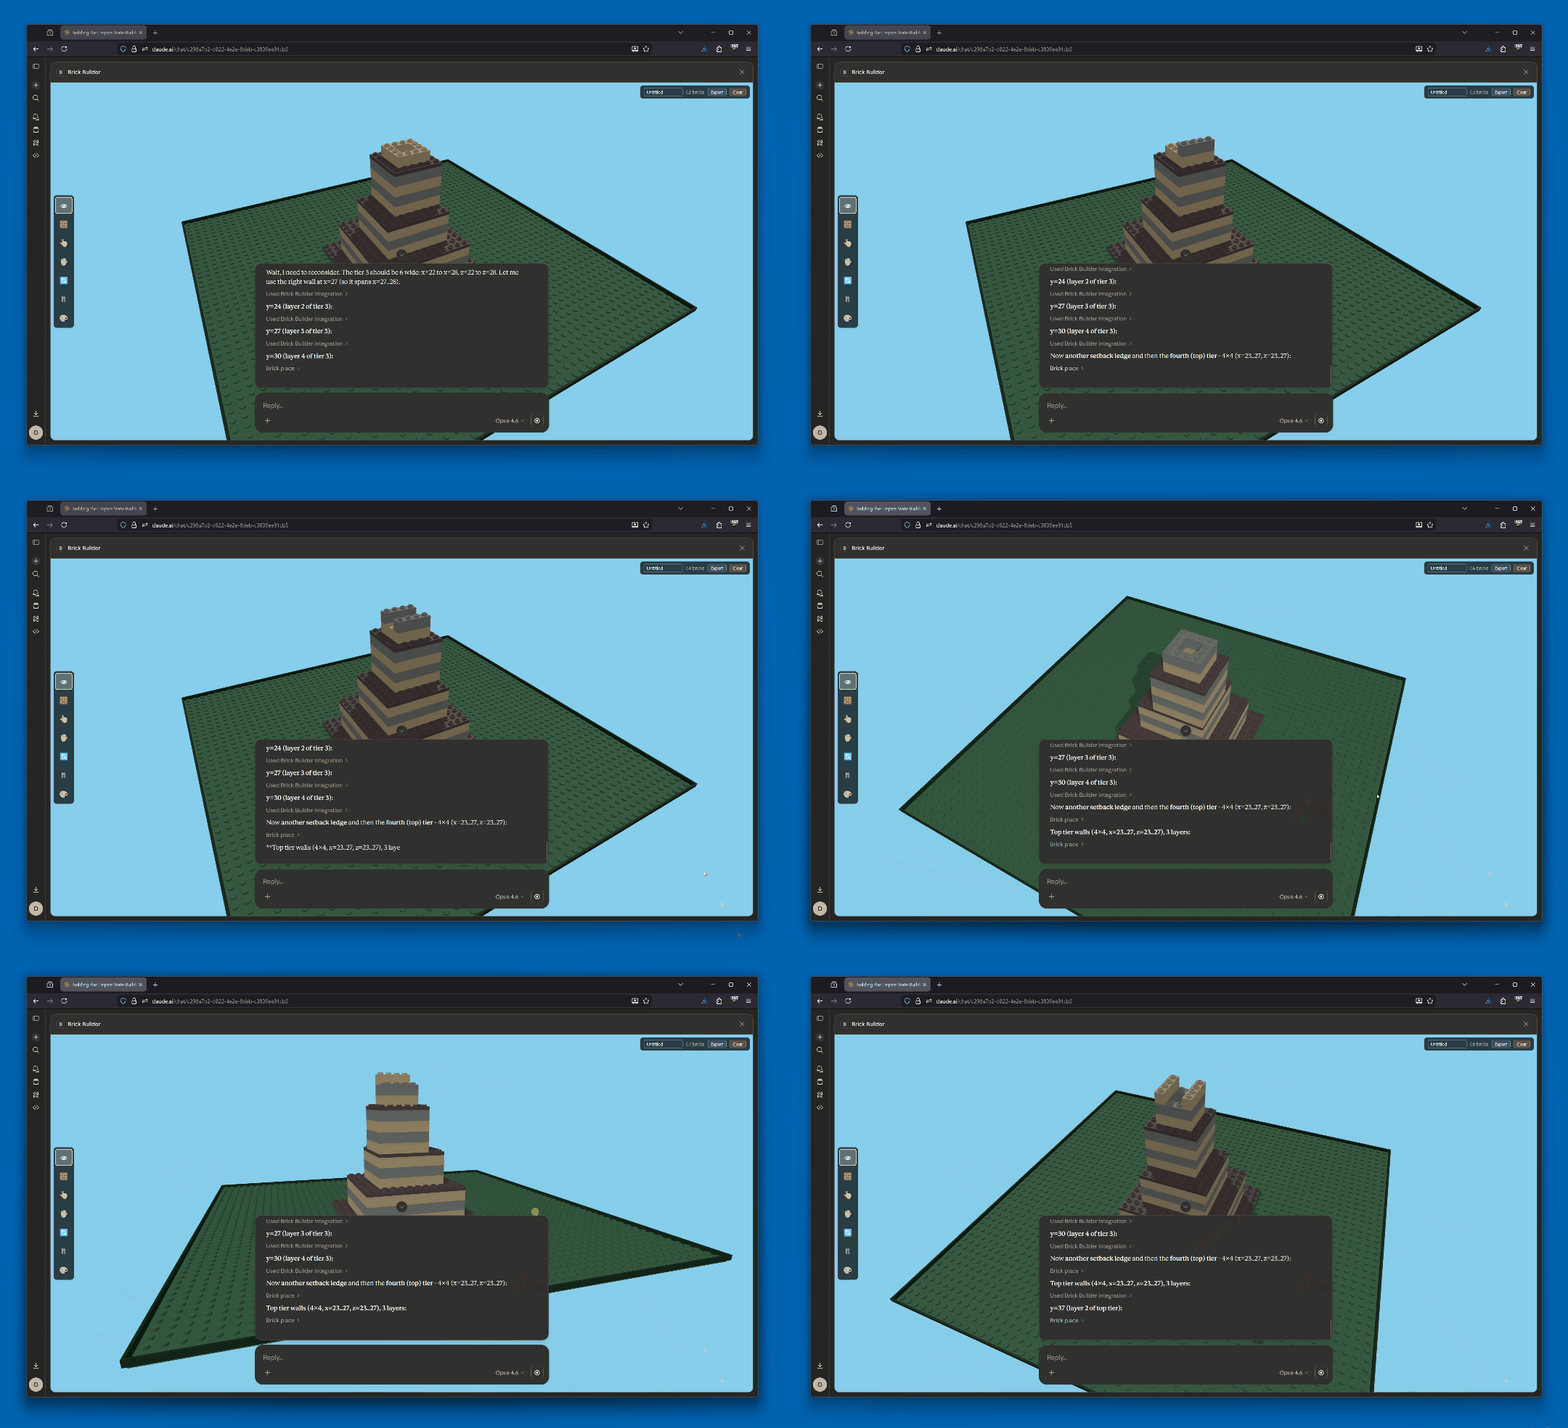
Brick Builder running in Claude, building a structure through natural language
Quick Start
git clone https://github.com/<owner>/brick-mcp-app.git
cd brick-mcp-app
npm install
npm run build
npm run serve
The server starts at http://localhost:3001/mcp.
Prerequisites
- Node.js 20+
- npm 10+
Commands
| Command | Description |
|---|---|
npm install | Install dependencies |
npm run build | Build client (Vite) + server (esbuild) |
npm run serve | Start server in dev mode (tsx, auto-reload) |
npm run dev | Watch client + serve concurrently |
npm start | Build then serve (one command) |
Architecture
The server is the single source of truth for all scene state. Both the AI (LLM) and the interactive UI mutate state exclusively through MCP tools. The server validates every operation — collision detection, bounds checking, support verification — and returns authoritative results.
Key Design Decisions
- Shared module-level state: The host creates separate MCP sessions for the LLM and the app iframe. Scene state lives at module level so both sessions read/write the same scene.
- Polling for cross-session sync: The UI polls
brick_get_sceneevery second to pick up LLM-initiated changes. User-initiated changes (viacallServerTool) are reflected instantly. - Single-brick placement: The LLM places one brick per
brick_placecall and receives the placed brick's footprint in the response, enabling precise positioning of subsequent bricks.
Connecting to Hosts
[!TIP] You can use Cloudflare Tunnels to expose your locally-hosted server to the internet. This lets you connect from claude.ai or any remote MCP host without port forwarding or VPNs:
cloudflared tunnel --url http://localhost:3001Then use the generated
*.trycloudflare.comURL in place ofhttp://localhost:3001in the configurations below.
Claude Desktop
Claude Desktop does not natively support streamable HTTP servers through config. You need to add the server as a custom connector (available on paid plans):
- Open Claude Desktop settings
- Navigate to Connectors and add a new custom connector
- Set the URL to the hosted URL of your MCP server (if you are using Cloudflare Tunnels, append
/mcp)
Visual Studio Code
Visual Studio Code supports Streamable HTTP MCP servers natively. Create .vscode/mcp.json in your workspace:
{
  "servers": {
    "brick-builder": {
      "type": "http",
      "url": "http://localhost:3001/mcp"
    }
  }
}
Or use the Command Palette: MCP: Add Server > HTTP > http://localhost:3001/mcp
MCP Tools
The following tools are accessible from whatever client you're using to interact with the app.
| Tool | Description |
|---|---|
brick_read_me | Returns the building guide, coordinate system, and examples |
brick_get_available | Returns all brick types with IDs, dimensions, and categories |
brick_render_scene | Opens the 3D viewer iframe (must call before placing bricks) |
brick_place | Place a single brick. Returns placed brick with footprint for precise adjacent positioning |
brick_get_scene | Read the current scene state with all bricks and their footprints |
brick_remove_brick | Remove a single brick by ID. Cascades to remove unsupported bricks above it |
brick_clear_scene | Remove all bricks from the scene |
brick_export_scene | Export as JSON or a human-readable summary |
Interactive UI
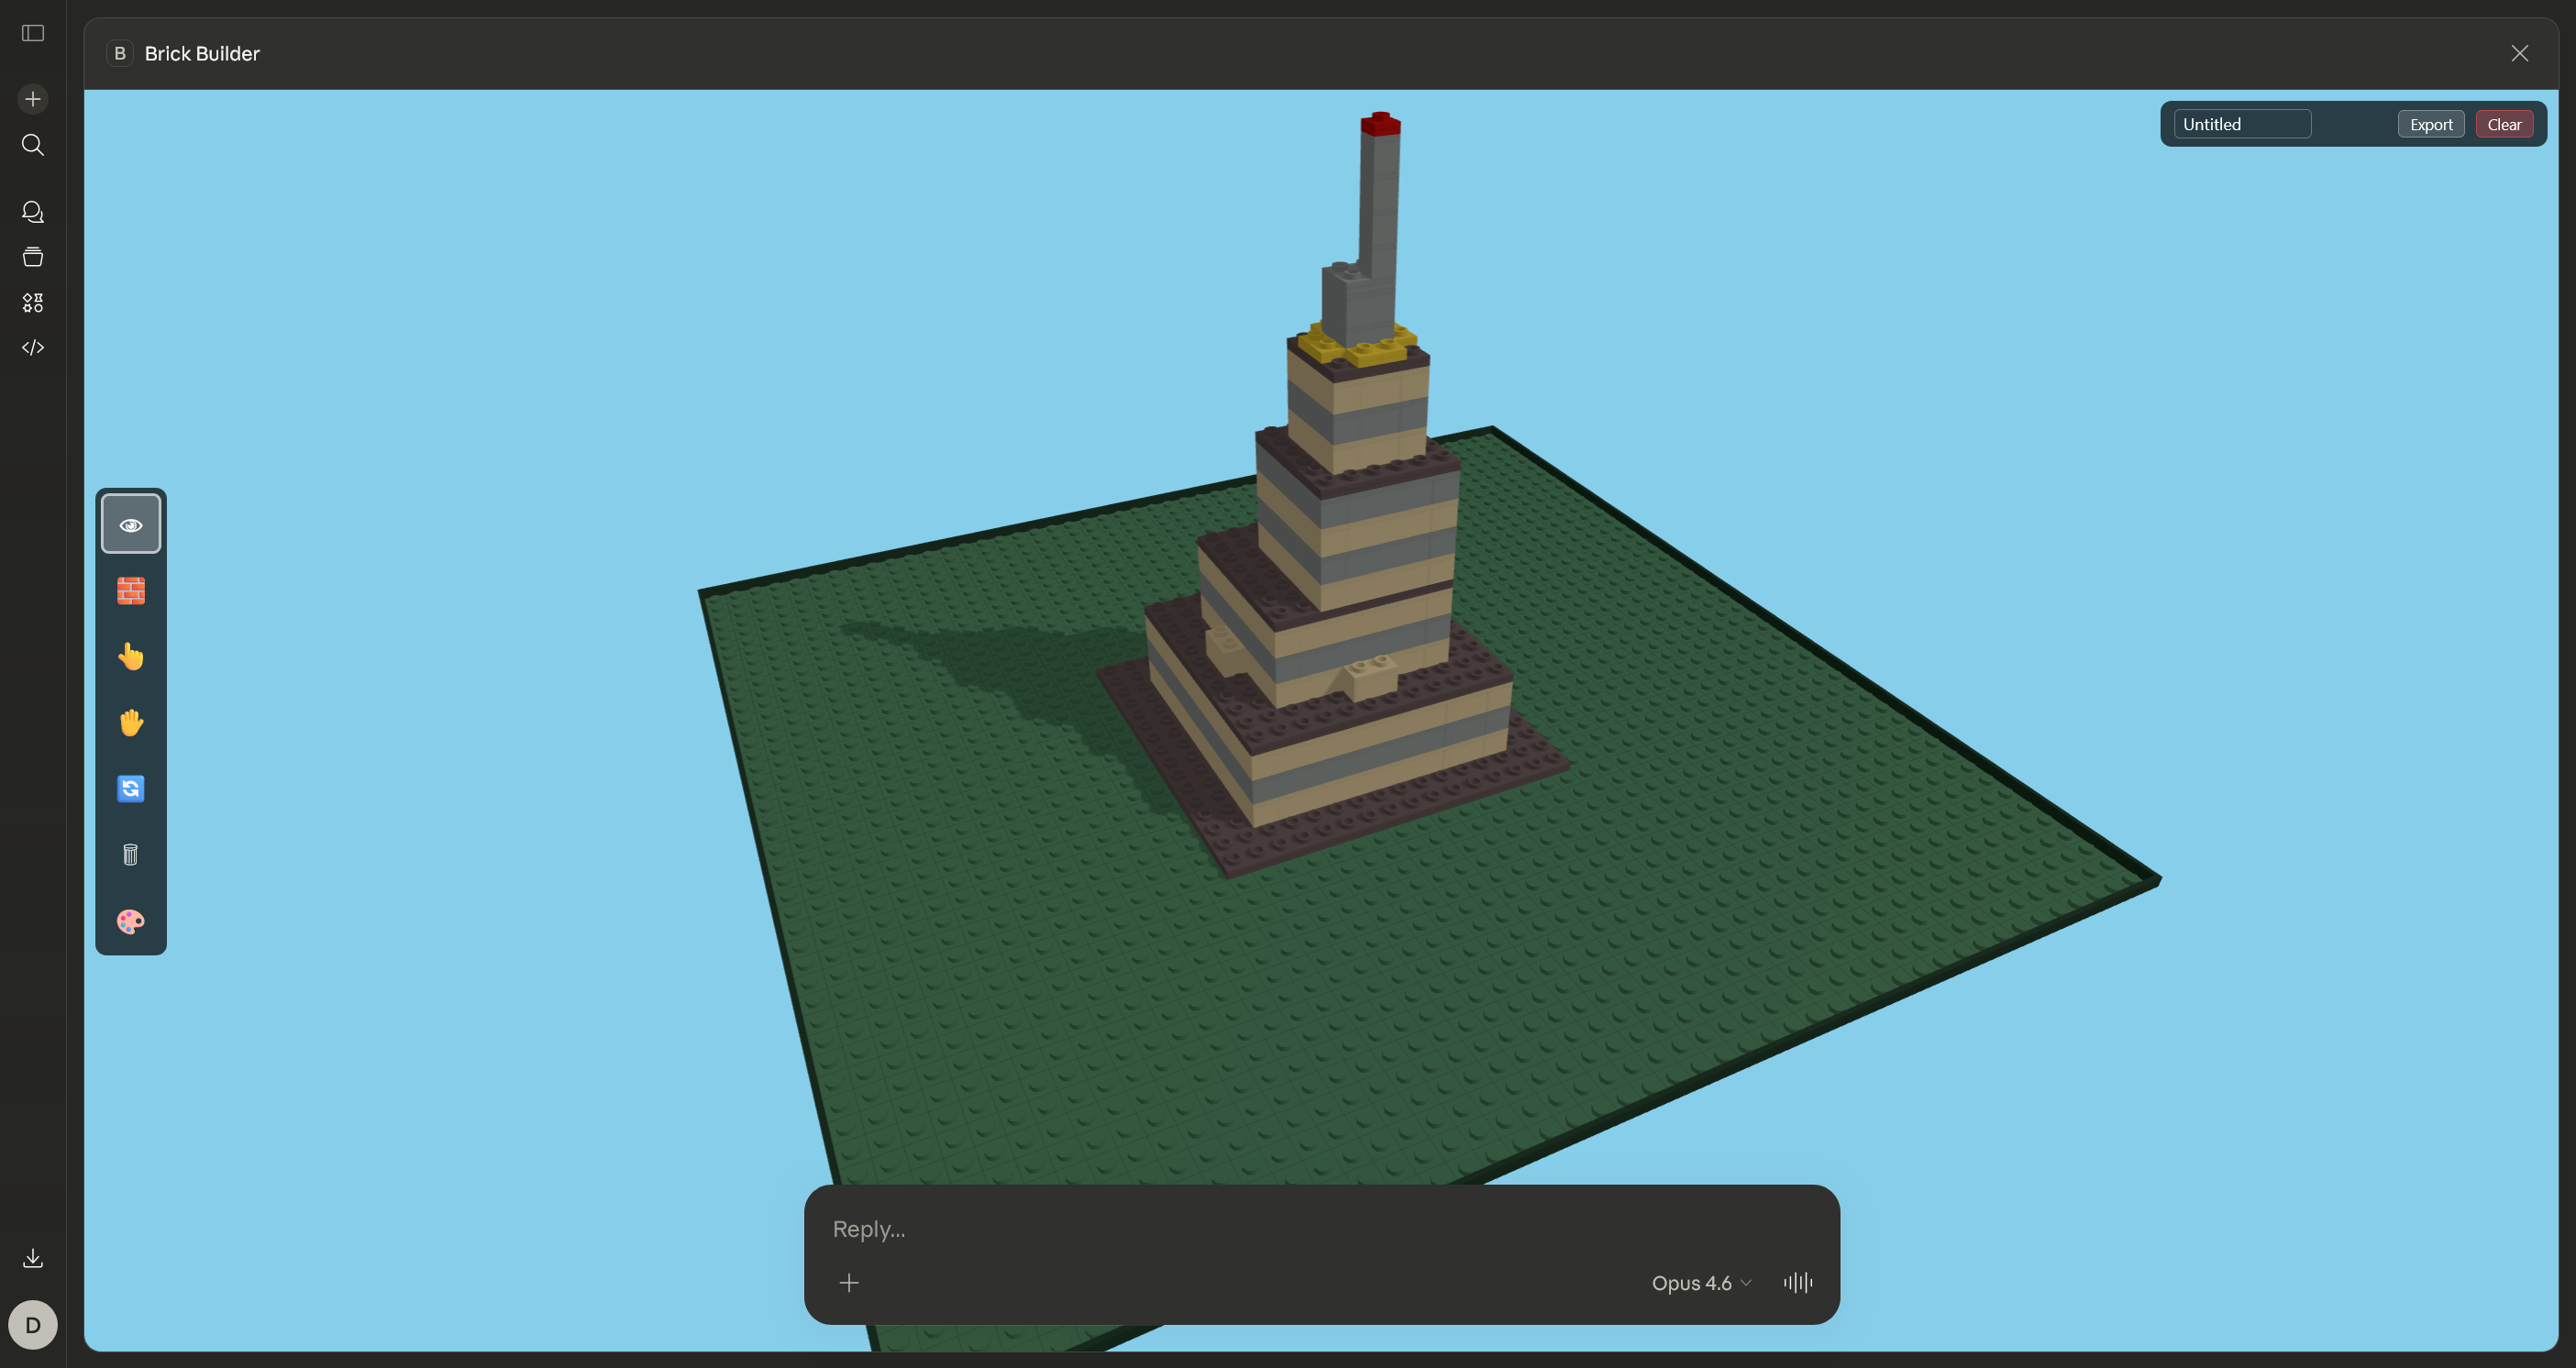
The 3D viewport supports seven interaction modes, switchable via the toolbar or keyboard shortcuts:
| # | Mode | Shortcut | Action |
|---|---|---|---|
| 1 | Look | 1 | Orbit, pan, and zoom the camera. No brick interaction. |
| 2 | Place | 2 | Click the grid to place bricks. Ghost preview shows valid (green) or invalid (red) positions. |
| 3 | Select | 3 | Click a brick to select it (highlighted). |
| 4 | Move | 4 | Drag a brick to a new position. |
| 5 | Rotate | 5 | Click a brick to rotate it 90 degrees. |
| 6 | Delete | 6 | Click a brick to remove it. |
| 7 | Paint | 7 | Click a brick to change its color. |
Additional shortcuts:
| Key | Action |
|---|---|
R | Cycle rotation (0 / 90 / 180 / 270) in place mode |
Delete | Remove the selected brick |
Escape | Deselect / cancel drag |
Brick Types
[!NOTE] This list is not final — more brick types will be added over time. See Adding New Brick Types for how to contribute new types.
20 brick types across three categories:
| Category | Types |
|---|---|
| Bricks (standard height, 3 plate units) | 1x1, 1x2, 1x3, 1x4, 1x6, 1x8, 2x2, 2x3, 2x4, 2x6, 2x8 |
| Plates (1/3 height, 1 plate unit) | 1x1, 1x2, 1x4, 2x2, 2x4, 2x6, 4x4 |
| Slopes (angled top) | 1x2, 2x2, 2x3 |
Coordinate System
[!NOTE] I might expand this further (or get rid of the baseplate altogether) in the future. The current setup is very much experimental.
- Baseplate: 48 x 48 studs (X and Z axes)
- Y axis: Height in plate units (1 standard brick = 3 Y units)
- Rotation: 0, 90, 180, or 270 degrees (swaps X/Z dimensions)
- All positions are integers snapped to the stud grid
Adding New Brick Types
Adding a new brick requires just two files. The catalog, server validation, geometry rendering, and UI selector all pick it up automatically.
Step 1: Create the definition
Create a file in src/bricks/definitions/. The BrickDefinition interface:
interface BrickDefinition {
  id: string;                  // Unique ID used in tool calls (e.g. 'brick_3x2')
  name: string;                // Display name (e.g. '3×2 Brick')
  category: 'brick' | 'plate' | 'slope' | 'technic' | 'corner';
  studsX: number;              // Width in studs (X axis)
  studsZ: number;              // Depth in studs (Z axis)
  heightUnits: number;         // Height in plate units (standard brick = 3, plate = 1)
  blockout?: BlockoutZone[];   // Optional zones where bricks can't sit on top (slopes)
}
Example — src/bricks/definitions/brick_3x2.ts:
import type { BrickDefinition } from '../types.js';

const brick_3x2: BrickDefinition = {
  id: 'brick_3x2',
  name: '3×2 Brick',
  category: 'brick',
  studsX: 3,
  studsZ: 2,
  heightUnits: 3,
};

export default brick_3x2;
Example with blockout (slope) — the angled face blocks stud connections:
const slope_2x3: BrickDefinition = {
  id: 'slope_2x3',
  name: '2×3 Slope 45°',
  category: 'slope',
  studsX: 2,
  studsZ: 3,
  heightUnits: 3,
  blockout: [{ minX: 0, maxX: 2, minZ: 1, maxZ: 3, height: 3 }],
};
Step 2: Export from the index
Add one line to src/bricks/definitions/index.ts:
export { default as brick_3x2 } from './brick_3x2.js';
Checklist
The brick is now:
- In
BRICK_CATALOG(auto-populated from exports) - Available to the LLM via
brick_get_availableandbrick_place - Shown in the UI brick selector panel
- Validated by server-side collision, bounds, and support checks
- Rendered with auto-generated geometry based on
category
No changes to server.ts, BrickBuilder.tsx, or any other file are needed to make things happen.
How categories map to geometry
The category field determines which geometry builder creates the 3D model:
| Category | Height convention | Geometry |
|---|---|---|
brick | heightUnits: 3 (standard) | Rectangular with studs on top, hollow underneath |
plate | heightUnits: 1 (thin) | Same as brick, 1/3 height |
slope | heightUnits: 3 | Angled top face, studs only on flat portion |
technic | heightUnits: 3 | Pin holes in walls for axle connections |
corner | heightUnits: 1 | L-shaped body with partial stud grid |
Adding a new category
To add an entirely new geometry style:
- Create a geometry builder in
src/bricks/geometry/(e.g.cylinder.ts) - Add a case to the switch in
src/bricks/geometry/index.ts:case 'cylinder': geometry = createCylinderGeometry(bt); break; - Add the category to the
BrickDefinitiontype union insrc/bricks/types.ts - Geometries must be corner-origin — spanning
[0, w] x [0, h] x [0, d]in local space
Unit reference
| Unit | World size | Real-world |
|---|---|---|
| 1 stud (X/Z) | 1.0 | 8 mm |
| 1 plate unit (Y) | 0.4 | 3.2 mm |
| 1 standard brick (Y) | 1.2 (3 plates) | 9.6 mm |
Local Testing
Test harness
The project includes a built-in visual test harness for testing MCP tools without a host. Start the server and navigate to:
http://localhost:3001/test
The harness connects directly to the MCP server and provides a sidebar with buttons for every tool — render the scene, place bricks, clear, export, etc. The 3D viewport is embedded alongside so you can see results immediately.
basic-host
You can also test using the MCP Apps SDK basic-host, which simulates the full host environment (iframe, postMessage, callServerTool):
# Terminal 1: start the server
npm run build && npm run serve

# Terminal 2: run basic-host
git clone --depth 1 https://github.com/modelcontextprotocol/ext-apps.git /tmp/mcp-ext-apps
cd /tmp/mcp-ext-apps/examples/basic-host
npm install
SERVERS='["http://localhost:3001/mcp"]' npm run start
# Open http://localhost:8080
License
MIT — see LICENSE.