Assignment 1.5: MCP on HiPerGator
CIS 6930 Data Engineering - Spring 2026
Overview
This repository contains starter code for the in-class MCP activity on HiPerGator.
You will build an MCP server that processes the dair-ai/emotion dataset from Hugging Face.
Setup on HiPerGator
1. Clone this repository
cd /blue/cis6930/YOUR_GATORLINK
git clone https://github.com/YOUR_USERNAME/cis6930sp26-assignment1.5.git
cd cis6930sp26-assignment1.5
2. Create environment file
cp .env.example .env
# Edit .env with your Hugging Face token
3. Install dependencies
module load mamba
uv sync
source .venv/bin/activate
Running the MCP Inspector
Option 1: HiPerGator Desktop (Recommended)
Using HiPerGator Desktop is much easier and avoids SSH tunneling complexity.
- Go to https://ondemand.rc.ufl.edu
- Navigate to Interactive Apps > HiPerGator Desktop
- Request a session (1 hour, 4 GB memory, 2 CPUs)
- Once the desktop launches, open a terminal
- Run:
cd /blue/cis6930/YOUR_GATORLINK/cis6930sp26-assignment1.5 module load mamba source .venv/bin/activate mcp dev server.py - Open Firefox in the virtual desktop and go to
http://localhost:6274
Option 2: SSH Tunneling from Your Laptop
If you prefer to use your local browser, you'll need to set up SSH tunneling.
Step 1: Start the MCP Inspector on a Compute Node
Run this command to start an interactive job with the MCP inspector:
ssh hpg "srun --partition=hpg-turin --account=cis6930 --qos=cis6930 \
    --cpus-per-task=4 --ntasks=1 --mem-per-cpu=4gb --time=1:00:00 \
    bash -c 'cd /blue/cis6930/YOUR_GATORLINK/cis6930sp26-assignment1.5 && \
    module load mamba && source .venv/bin/activate && mcp dev server.py'"
Step 2: Find Your Compute Node Name
In another terminal, find which compute node your job is running on:
squeue -u $USER
Look for the node name in the NODELIST column (e.g., c0702a-s2).
Step 3: Set Up the SSH Tunnel
The MCP Inspector runs on two ports:
- 6274 - Web interface
- 6277 - Proxy server
Open a new terminal on your laptop and run:
ssh -L 6274:localhost:6274 -L 6277:localhost:6277 \
    -J YOUR_GATORLINK@hpg.rc.ufl.edu YOUR_GATORLINK@COMPUTE_NODE
Example:
ssh -L 6274:localhost:6274 -L 6277:localhost:6277 \
    -J jsmith@hpg.rc.ufl.edu jsmith@c0702a-s2
The -J flag (ProxyJump) connects through the login node directly to the compute node.
Step 4: Open the Inspector
Open your browser and go to the url that was output by the the dev server. Is should look like http://localhost:6274/?MCP_PROXY_AUTH_TOKEN=e2a71ba1e83a76dd0ea24fed08b1d62413d5837fbea81cbc41a9233ae169f989 : http://localhost:6274?MCP_PROXY_AUTH_TOKEN={CODE}
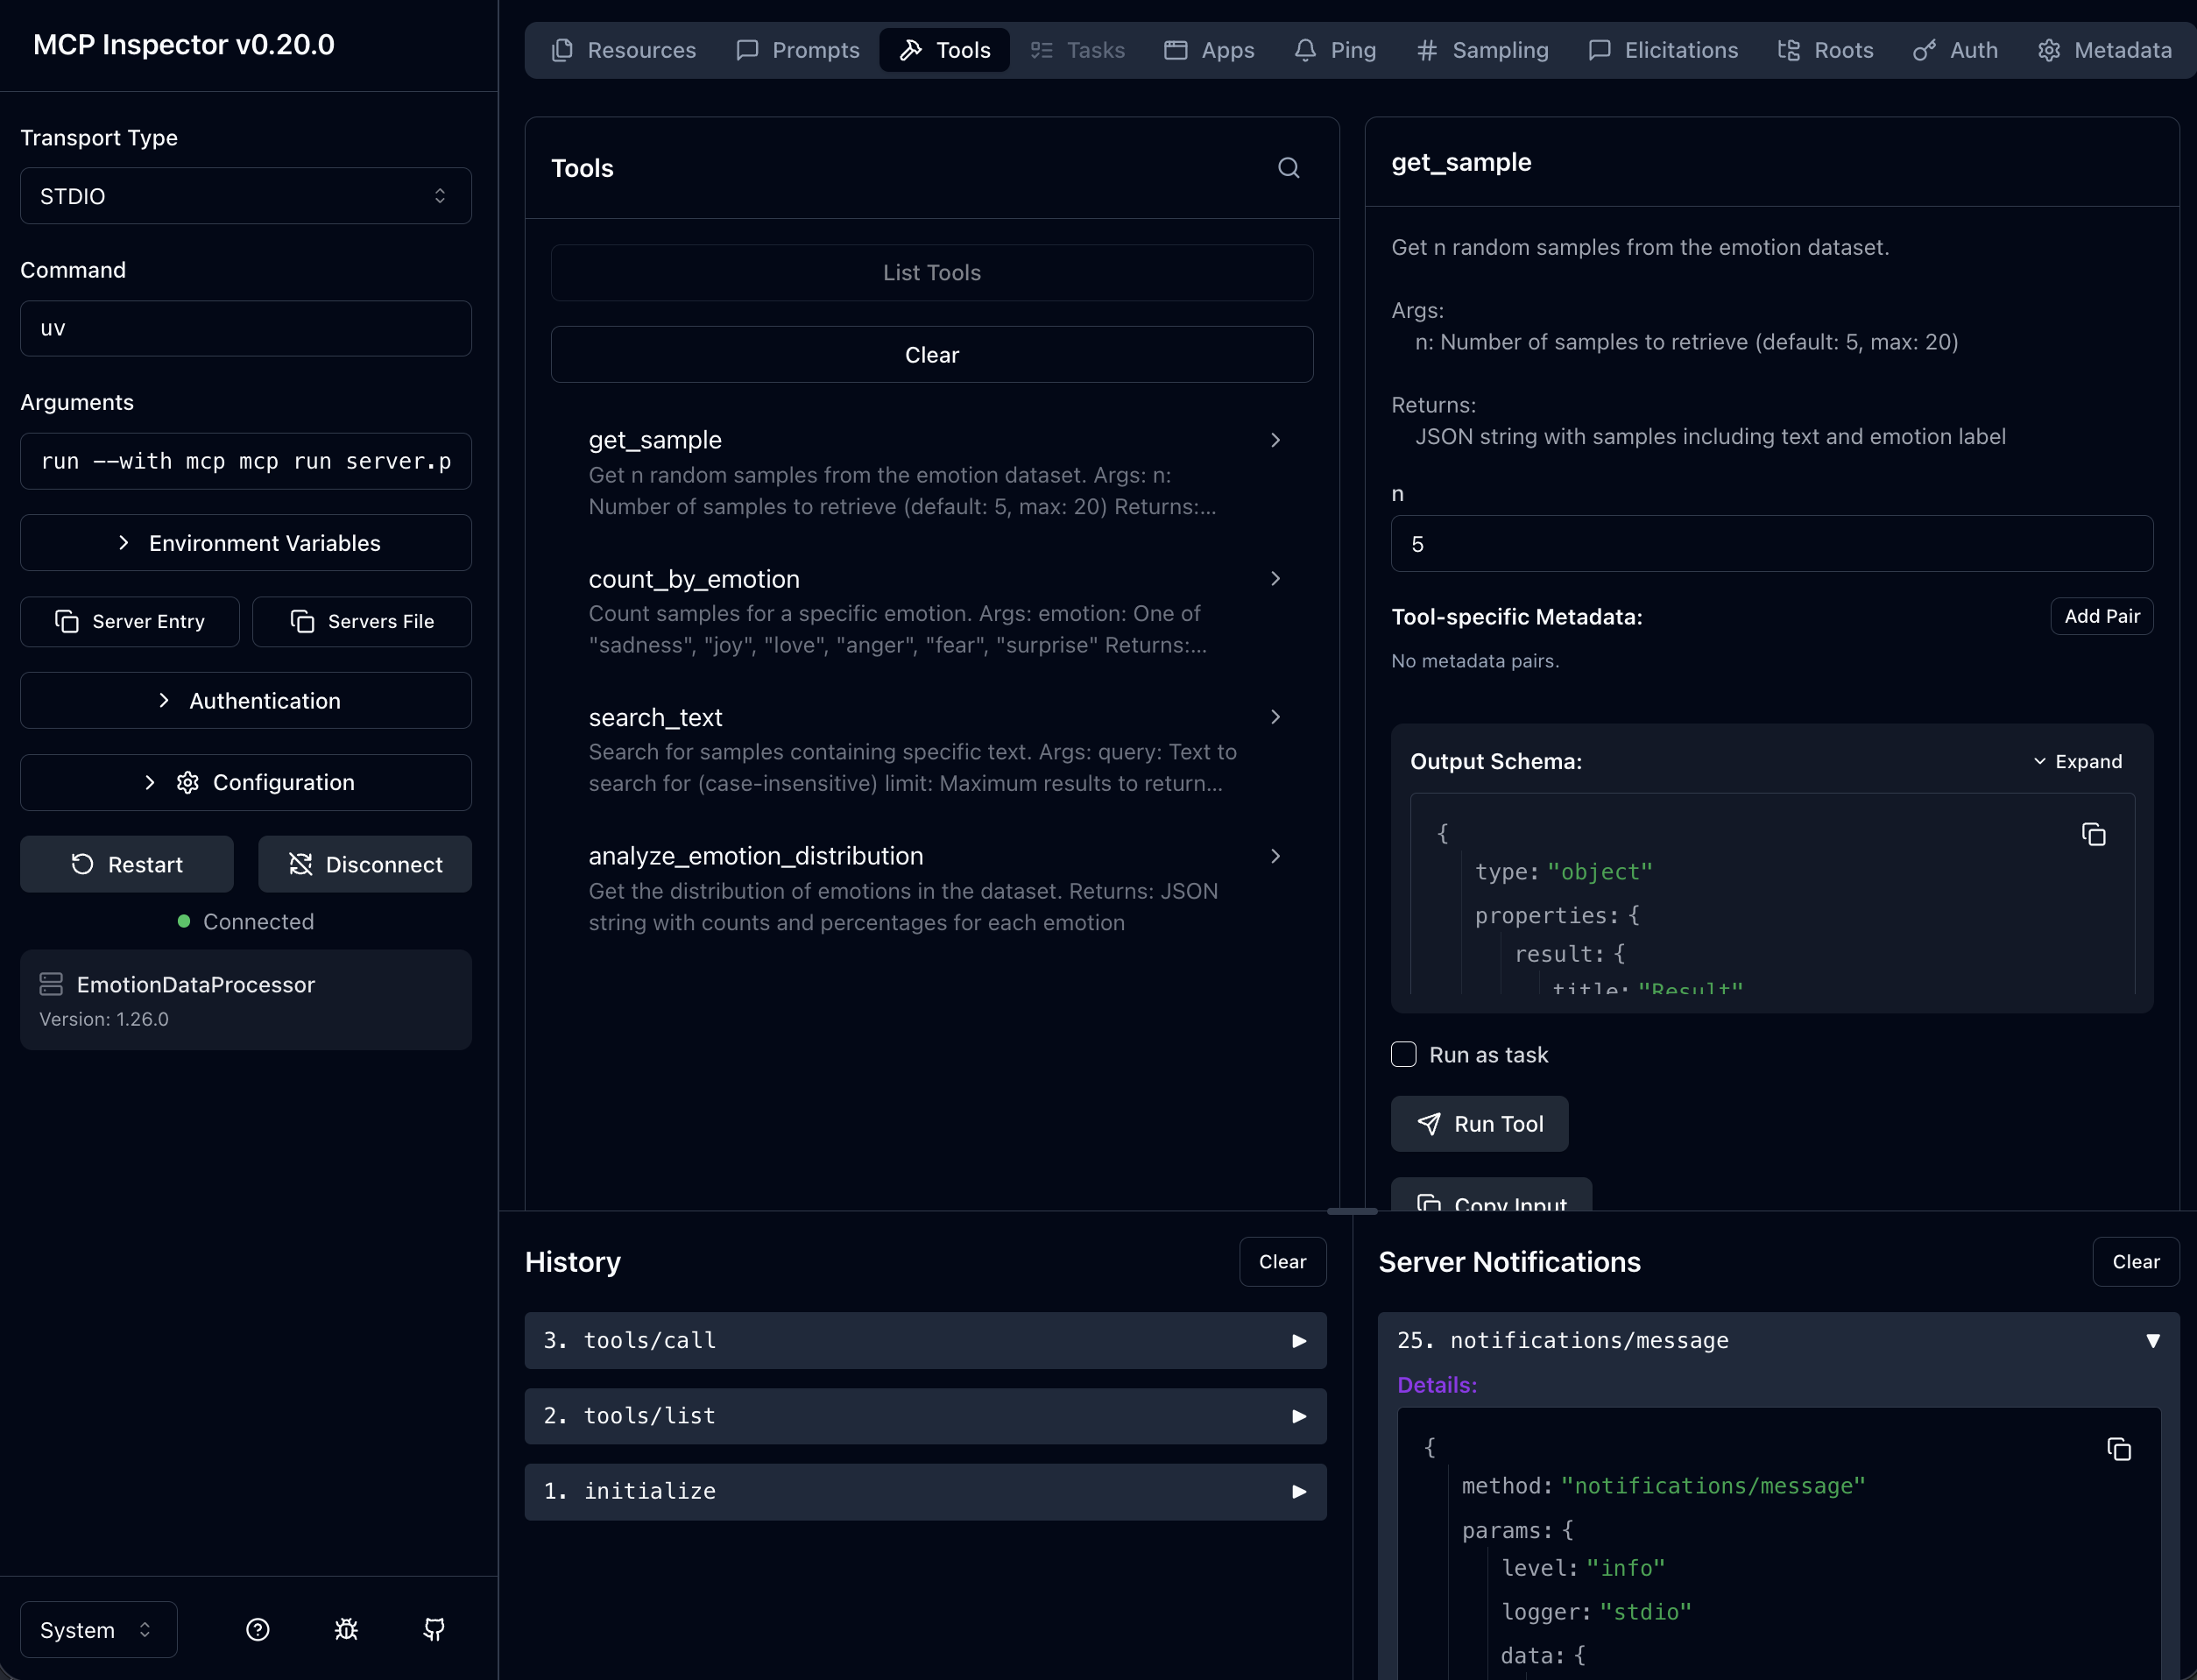
You should see the MCP Inspector interface:
Passwordless SSH Login
To avoid entering your password multiple times, set up SSH keys for HiPerGator: https://docs.rc.ufl.edu/access/ssh_keys/
Troubleshooting
| Problem | Solution |
|---|---|
| "Connection refused" | Ensure you're using -J (ProxyJump) and forwarding both ports (6274 and 6277) |
| "Address already in use" | Kill processes: `lsof -ti:6274 |
| Host key verification failed | Add -o StrictHostKeyChecking=no to the SSH command |
| Page won't load | Verify mcp dev is still running on the compute node |
Using the MCP Inspector
- Click the Tools tab in the left sidebar
- Select a tool from the list (e.g.,
get_sample) - Fill in the parameter values
- Click Run Tool
- View the JSON response in the output panel
Tools to Test
| Tool | Parameters |
|---|---|
get_sample | n: 3 |
count_by_emotion | emotion: "joy" |
search_text | query: "happy", limit: 5 |
analyze_emotion_distribution | (no parameters) |
Dataset
The dair-ai/emotion dataset contains English Twitter messages labeled with six emotions:
| Label | Emotion |
|---|---|
| 0 | sadness |
| 1 | joy |
| 2 | love |
| 3 | anger |
| 4 | fear |
| 5 | surprise |
Submission
After completing the activity, submit to Canvas:
- Your
outputs.txtfile with tool outputs - A brief reflection (2-3 sentences)