Model Context Protocol (MCP) Server for Cisco Modeling Labs (CML)
![]()
mcp-name: io.github.xorrkaz/cml-mcp
Overview
cml-mcp is a server implementation of the Model Context Protocol (MCP) designed
for Cisco Modeling Labs (CML). It is built using FastMCP 2.0 and designed to provide a set of tools for LLM apps like Claude Desktop, Claude Code, and Cursor to interact with CML.
Features
- Create Lab Topologies: Tool for create new labs and define network topologies.
- Query Status: Tools to retrieve status information for labs, nodes, and the CML server itself.
- Control Labs and Nodes: Tools to start and stop labs or individual nodes as needed.
- Manage CML Users and Groups Tools to list, create, and delete local users and groups.
- Run Commands on Devices: Using PyATS, MCP clients can execute commands on virtual devices within CML labs.
Requirements
- Python 3.12 or later - Required for the MCP server
- Cisco Modeling Labs (CML) 2.9 or later - The CML server you'll connect to
- uv - Python package and project manager (required for installation)
- PyATS (optional) - Automatically installed with
cml-mcp[pyats]for device CLI command execution - Node.js (optional) - Required only for HTTP transport mode with
mcp-remote
Windows Requirements
If you do not want to run CLI commands on devices running in CML, you don't need to do anything else other than install the base cml-mcp package. However,
if you want full support, Windows users also require either Windows Subsystem for Linux (WSL) with Python and uv installed within WSL or a Docker environment running on the Windows machine.
Getting Started
You have several options to run this server, depending on your needs and platform:
Option 1: Standard I/O (stdio) Transport
This is the traditional way to run the server, where it communicates directly with the MCP client via standard input/output streams.
Using uvx (Easiest - No CLI Support)
The easiest way is to use uvx, which downloads the server from PyPi and runs it in a standalone environment. This works for Linux, Mac, and Windows users but does not provide CLI command support. Edit your client's config and add something like the following. This example is for Claude Desktop:
{
  "mcpServers": {
    "Cisco Modeling Labs (CML)": {
      "command": "uvx",
      "args": [
        "cml-mcp"
      ],
      "env": {
        "CML_URL": "<URL_OF_CML_SERVER>",
        "CML_USERNAME": "<USERNAME_ON_CML_SERVER>",
        "CML_PASSWORD": "<PASSWORD_ON_CML_SERVER>",
        "CML_VERIFY_SSL": "false",
        "DEBUG": "false"
      }
    }
  }
}
In order to execute CLI commands on devices running within CML, Linux and Mac users will need to change the "args" to cml-mcp[pyats]. For example:
{
  "mcpServers": {
    "Cisco Modeling Labs (CML)": {
      "command": "uvx",
      "args": [
        "cml-mcp[pyats]"
      ],
      "env": {
        "CML_URL": "<URL_OF_CML_SERVER>",
        "CML_USERNAME": "<USERNAME_ON_CML_SERVER>",
        "CML_PASSWORD": "<PASSWORD_ON_CML_SERVER>",
        "CML_VERIFY_SSL": "false",
        "PYATS_USERNAME": "<DEVICE_USERNAME>",
        "PYATS_PASSWORD": "<DEVICE_PASSWORD>",
        "PYATS_AUTH_PASS": "<DEVICE_ENABLE_PASSWORD>",
        "DEBUG": "false"
      }
    }
  }
}
The additional PYATS environment variables are needed to let the MCP server know how to login to those running devices.
Windows users that want CLI command support and are using Windows Subsystem for Linux (WSL) should configure:
{
  "mcpServers": {
    "Cisco Modeling Labs (CML)": {
      "command": "wsl",
      "args": [
        "uvx",
        "cml-mcp[pyats]"
      ],
      "env": {
        "CML_URL": "<URL_OF_CML_SERVER>",
        "CML_USERNAME": "<USERNAME_ON_CML_SERVER>",
        "CML_PASSWORD": "<PASSWORD_ON_CML_SERVER>",
        "PYATS_USERNAME": "<DEVICE_USERNAME>",
        "PYATS_PASSWORD": "<DEVICE_PASSWORD>",
        "PYATS_AUTH_PASS": "<DEVICE_ENABLE_PASSWORD>",
        "CML_VERIFY_SSL": "false",
        "DEBUG": "false",
        "WSLENV": "CML_URL/u:CML_USERNAME/u:CML_PASSWORD/u:CML_VERIFY_SSL/u:PYATS_USERNAME/u:PYATS_PASSWORD/u:PYATS_AUTH_PASS/u:DEBUG/u"
      }
    }
  }
}
Windows (and really Mac and Linux users, too) that want CLI command support and are using Docker should configure:
{
  "mcpServers": {
    "Cisco Modeling Labs (CML)": {
      "command": "docker",
      "args": [
        "run",
        "-i",
        "--rm",
        "--pull",
        "always",
        "-e",
        "CML_URL",
        "-e",
        "CML_USERNAME",
        "-e",
        "CML_PASSWORD",
        "-e",
        "PYATS_USERNAME",
        "-e",
        "PYATS_PASSWORD",
        "-e",
        "PYATS_AUTH_PASS",
        "-e",
        "CML_VERIFY_SSL",
        "-e",
        "DEBUG",
        "xorrkaz/cml-mcp:latest"
      ],
      "env": {
        "CML_URL": "<URL_OF_CML_SERVER>",
        "CML_USERNAME": "<USERNAME_ON_CML_SERVER>",
        "CML_PASSWORD": "<PASSWORD_ON_CML_SERVER>",
        "CML_VERIFY_SSL": "false",
        "PYATS_USERNAME": "<DEVICE_USERNAME>",
        "PYATS_PASSWORD": "<DEVICE_PASSWORD>",
        "PYATS_AUTH_PASS": "<DEVICE_ENABLE_PASSWORD>",
        "DEBUG": "false"
      }
    }
  }
}
Using FastMCP CLI
An alternative is to use FastMCP CLI to install the server into your favorite client. FastMCP CLI supports Claude Desktop, Claude Code, Cursor, and manual JSON generation. To use FastMCP, do the following:
-
Clone this repository:
git clone https://github.com/xorrkaz/cml-mcp.git -
Change directory to the cloned repository.
-
Run
uv syncto install all the correct dependencies, including FastMCP 2.0. Note: on Linux and Mac, runuv sync --all-extrasto get CLI command support. -
Create a
.envfile with the following variables set:CML_URL=<URL_OF_CML_SERVER> CML_USERNAME=<USERNAME_ON_CML_SERVER> CML_PASSWORD=<PASSWORD_ON_CML_SERVER> CML_VERIFY_SSL=false # Set to true to verify SSL certificates DEBUG=false # Set to true to enable debug logging # Optional in order to run commands PYATS_USERNAME=<DEVICE_USERNAME> PYATS_PASSWORD=<DEVICE_PASSWORD> PYATS_AUTH_PASS=<DEVICE_ENABLE_PASSWORD> -
Run the FastMCP CLI command to install the server. For example:
fastmcp install claude-desktop src/cml_mcp/server.py:server_mcp --project `realpath .` --env-file .env
Option 2: HTTP Transport (Streaming)
The server now supports HTTP streaming transport, which is useful for running the MCP server as a standalone service that can be accessed by multiple clients or when you want to run it in a containerized or remote environment. This mode uses HTTP Server-Sent Events (SSE) for real-time communication.
Running the HTTP Server
To run the server in HTTP mode, set the CML_MCP_TRANSPORT environment variable to http. You can also configure the bind address and port.
First, install the package:
uv venv
source .venv/bin/activate
uv pip install cml-mcp # or cml-mcp\[pyats] to get CLI command support
Or for development, clone the repository and sync dependencies:
git clone https://github.com/xorrkaz/cml-mcp.git
cd cml-mcp
uv sync # add --all-extras to get CLI command support
Then run the server using uvicorn:
# Set environment variables
export CML_URL=<URL_OF_CML_SERVER>
export CML_MCP_TRANSPORT=http
export CML_MCP_BIND=0.0.0.0  # Optional, defaults to 0.0.0.0
export CML_MCP_PORT=9000     # Optional, defaults to 9000

# Run the server with uvicorn
uvicorn cml_mcp.server:app --host 0.0.0.0 --port 9000
Or create a .env file with these settings:
CML_URL=<URL_OF_CML_SERVER>  # Optional in HTTP mode if using X-CML-URL header
CML_MCP_TRANSPORT=http
CML_MCP_BIND=0.0.0.0
CML_MCP_PORT=9000
CML_VERIFY_SSL=false  # Set to true to verify SSL certificates
DEBUG=false  # Set to true to enable debug logging
# For multiple CML hosts support, use one of:
CML_ALLOWED_URLS=https://cml1.example.com,https://cml2.example.com  # Comma-separated list
# OR
CML_URL_PATTERN=^https://cml\.example\.com  # Regex pattern
Then run:
# Activate the virtual environment if not already active
source .venv/bin/activate

# Run the server
cml-mcp
The server will start and listen for HTTP connections at http://0.0.0.0:9000.
Authentication in HTTP Mode
When using HTTP transport, authentication is handled differently than stdio mode:
- CML Credentials: Instead of being set via environment variables (
CML_USERNAME/CML_PASSWORD), CML credentials are provided via theX-AuthorizationHTTP header using Basic authentication format. - PyATS Credentials: For CLI command execution, PyATS credentials can be provided via the
X-PyATS-Authorizationheader (Basic auth) instead ofPYATS_USERNAME/PYATS_PASSWORDenvironment variables, and the enable password via theX-PyATS-Enableheader instead ofPYATS_AUTH_PASS. - Multiple CML Hosts: When running in HTTP mode, clients can connect to different CML servers by providing the
X-CML-URLheader. For security, you must configure allowed URLs via theCML_ALLOWED_URLSenvironment variable (comma-separated list) orCML_URL_PATTERN(regex pattern).
Example headers:
X-Authorization: Basic <base64_encoded_cml_username:cml_password>
X-PyATS-Authorization: Basic <base64_encoded_device_username:device_password>
X-PyATS-Enable: <base64_encoded_enable_password>
X-CML-URL: https://cml-server.example.com
Note: The X-PyATS-Enable header only needs the Base64-encoded enable password (not Basic auth format with username:password).
Configuring MCP Clients for HTTP
To use the HTTP server with an MCP client, you'll need to use the mcp-remote tool to connect to the HTTP endpoint. Most MCP clients like Claude Desktop don't natively support HTTP streaming, so mcp-remote acts as a bridge between the client (which expects stdio) and the HTTP server. This bridge requires Node.js to be installed
on your client machine. Node.js includes the npx utility that allows you to run Javascript/Typescript applications in
a dedicated environment.
Add the following configuration to your MCP client config (e.g., Claude Desktop's claude_desktop_config.json):
{
  "mcpServers": {
    "Cisco Modeling Labs (CML)": {
      "command": "npx",
      "args": [
        "-y",
        "mcp-remote",
        "http://<server_host>:9000/mcp",
        "--header",
        "X-Authorization: Basic <base64_encoded_cml_credentials>",
        "--header",
        "X-PyATS-Authorization: Basic <base64_encoded_device_credentials>"
      ]
    }
  }
}
Replace the placeholders with your actual values:
<server_host>: The hostname or IP address where your HTTP server is running<base64_encoded_cml_credentials>: Base64-encodedusername:passwordfor CML<base64_encoded_device_credentials>: Base64-encodedusername:passwordfor device access
Example:
{
  "mcpServers": {
    "Cisco Modeling Labs (CML)": {
      "command": "npx",
      "args": [
        "-y",
        "mcp-remote",
        "https://192.168.10.210:8443/mcp",
        "--header",
        "X-Authorization: Basic <base64_encoded_cml_credentials>",
        "--header",
        "X-PyATS-Authorization: Basic <base64_encoded_device_credentials>"
      ]
    }
  }
}
Note: When using HTTPS with a self-signed certificate, you'll need to disable TLS certificate validation by adding an env section:
{
  "mcpServers": {
    "Cisco Modeling Labs (CML)": {
      "command": "npx",
      "args": [
        "-y",
        "mcp-remote",
        "https://192.168.10.210:8443/mcp",
        "--header",
        "X-Authorization: Basic <base64_encoded_cml_credentials>",
        "--header",
        "X-PyATS-Authorization: Basic <base64_encoded_device_credentials>"
      ],
      "env": {
        "NODE_TLS_REJECT_UNAUTHORIZED": "0"
      }
    }
  }
}
To encode your credentials in Base64:
Linux/Mac:
# For CML credentials (X-Authorization header)
echo -n "username:password" | base64

# For device credentials (X-PyATS-Authorization header)
echo -n "device_username:device_password" | base64

# For enable password (X-PyATS-Enable header) - just the password
echo -n "enable_password" | base64
Windows (use WSL):
wsl bash -c 'echo -n "username:password" | base64'
wsl bash -c 'echo -n "device_username:device_password" | base64'
wsl bash -c 'echo -n "enable_password" | base64'
Alternatively, you can use online Base64 encoders or PowerShell:
# For credentials with username:password format
[Convert]::ToBase64String([Text.Encoding]::UTF8.GetBytes("username:password"))

# For enable password only
[Convert]::ToBase64String([Text.Encoding]::UTF8.GetBytes("enable_password"))
When configuring mcp-remote, add the headers with the proper format:
"--header",
"X-Authorization: Basic <base64_encoded_username_colon_password>",
"--header",
"X-PyATS-Authorization: Basic <base64_encoded_device_username_colon_password>",
"--header",
"X-PyATS-Enable: <base64_encoded_enable_password>"
Docker with HTTP Transport
You can also run the server in HTTP mode using Docker:
docker run -d \
  --rm \
  --name cml-mcp \
  -p 9000:9000 \
  -e CML_URL=<URL_OF_CML_SERVER> \
  -e CML_MCP_TRANSPORT=http \
  xorrkaz/cml-mcp:latest
This exposes the HTTP server on port 9000, allowing external MCP clients to connect.
Usage
The tools should show up automatically in your MCP client, and you can chat with the LLM to get it to invoke tools as needed. For example, the following sequence of prompts nicely shows off some of the server's capabilities:
- Create a new CML lab called "Joe's MCP Lab".
- Add two IOL nodes, a unmanaged switch, and an external connector to this lab.
- Connect the two IOL nodes to the unmanaged switch and the unmanaged switch to the external connector.
- Configure the routers so that their connected interfaces have IPs in the 192.0.2.0/24 subnet. Configure OSPF on them. Then start the lab and validate OSPF is working correctly.
- Add a box annotation around the two IOL nodes that indicates they speak OSPF. Make it a green box.
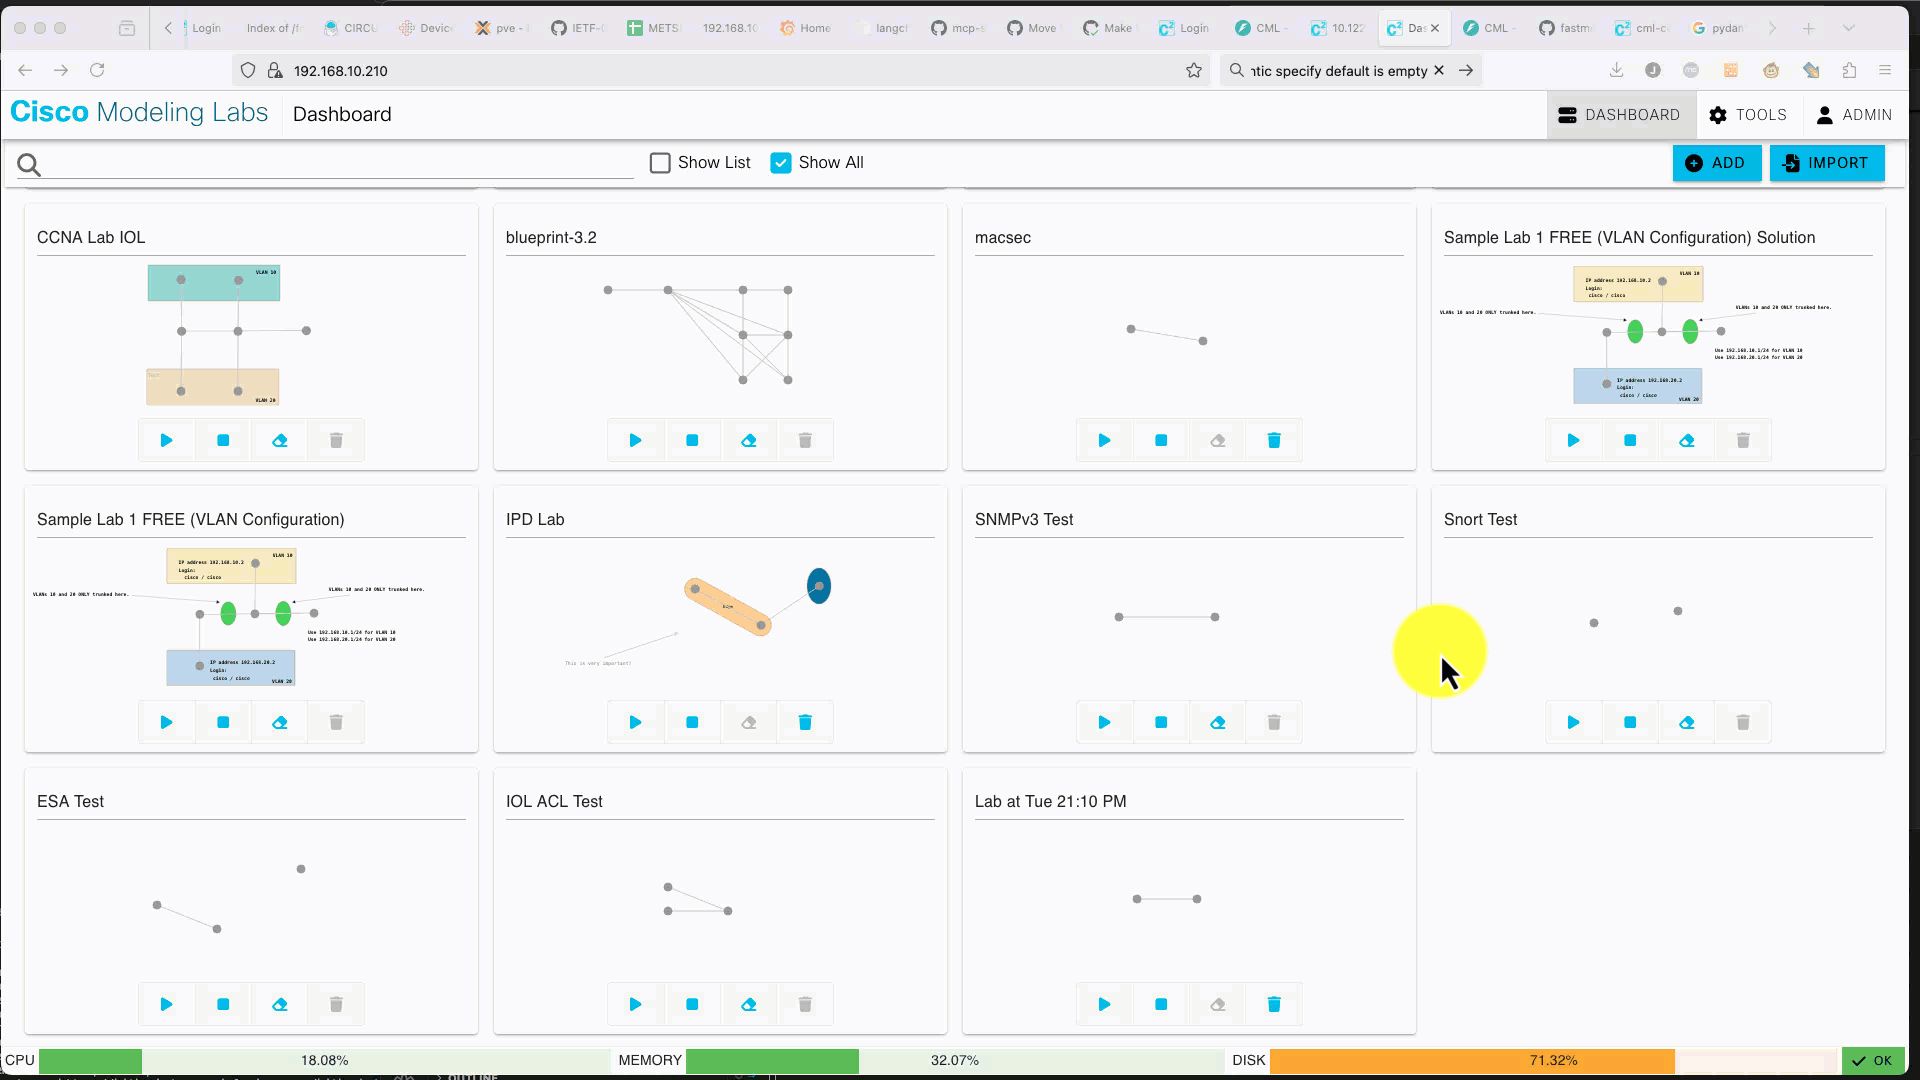
And here is an obligatory demo GIF to show it working in Claude Desktop:
System Prompt
If your LLM tool supports a system prompt, or you want to provide some richer initial context, here's a good example courtesy of Hank Preston:
You are a network lab assistant specializing in supporting Cisco Modeling Labs (CML). You provide a natural language interface for many common lab activities such as:
- Creating new lab
- Adding nodes to a lab
- Creating interfaces between nodes
- Configuring nodes
- Creating annotations
You have access to tools to access the CML server.
Contributing
Contributions are welcome! Please see CONTRIBUTING.md for detailed guidelines.
Development Setup
For contributors and developers who want to work on the codebase:
Prerequisites
- Python 3.12 or later
- uv - Python package/project manager
- just - Command runner (optional but recommended)
- direnv - Environment variable manager (optional but recommended)
Quick Start for Development
-
Clone the repository:
git clone https://github.com/xorrkaz/cml-mcp.git cd cml-mcp -
(Optional) If using direnv, allow it to set up your environment:
direnv allowThis will automatically create a virtual environment and install dependencies when you
cdinto the directory. -
If not using direnv, manually install dependencies:
uv sync --all-extras source .venv/bin/activate -
Create a
.envfile with your CML server credentials:CML_URL=https://your-cml-server.example.com CML_USERNAME=your_username CML_PASSWORD=your_password CML_VERIFY_SSL=false DEBUG=true # Optional for CLI command support PYATS_USERNAME=device_username PYATS_PASSWORD=device_password PYATS_AUTH_PASS=enable_password
Development Tasks with just
The project uses just as a task runner. Common commands:
# Show all available commands
just

# Run tests with mocks (fast, no CML server needed)
just test

# Run tests against a live CML server
just test-live

# Install/update dependencies
just install

# Update all dependencies to latest versions
just update

# Build the package
just build

# Clean temporary files
just clean

# Full clean and reinstall
just fresh
Testing
The project includes comprehensive tests that can run in two modes:
Mock Mode (Default) - Fast tests using pre-recorded API responses:
# Using pytest directly
pytest tests/

# Using just
just test

# Run specific test file
just test tests/test_cml_mcp.py
Live Mode - Tests against a real CML server:
# Requires CML_URL, CML_USERNAME, CML_PASSWORD in environment
export USE_MOCKS=false
pytest tests/

# Or using just
just test-live
See tests/README.md for more details on the testing framework.
Code Style
The project uses:
- black - Code formatting
- isort - Import sorting
- flake8 - Linting
These are configured in pyproject.toml with a 140-character line length.
Before committing, ensure your code is properly formatted:
black src/ tests/
isort src/ tests/
flake8 src/ tests/
Project Structure
cml-mcp/
├── src/cml_mcp/          # Main source code
│   ├── server.py         # FastMCP server implementation
│   ├── cml_client.py     # CML API client wrapper
│   ├── settings.py       # Configuration management
│   └── cml/              # CML API schema definitions
├── tests/                # Test suite
│   ├── conftest.py       # pytest configuration and fixtures
│   ├── test_cml_mcp.py   # Main test file
│   └── mocks/            # Mock API responses for testing
├── Justfile              # Task automation
├── pyproject.toml        # Python project configuration
├── Dockerfile            # Container image definition
└── .envrc                # direnv configuration
Publishing and Release (Maintainers)
The project uses just to streamline the publishing process:
# Build package and Docker images
just build

# Publish to PyPI (prompts for token)
just publish_pypi

# Publish to MCP registry
just publish_mcp

# Publish Docker images
just publish_docker

# Do all of the above
just publish
Note: Version numbers are defined in pyproject.toml. Update the version before publishing a new release.
Environment Variables Reference
Required (stdio mode)
CML_URL- URL of your CML server (e.g.,https://cml.example.com)CML_USERNAME- Username for CML authenticationCML_PASSWORD- Password for CML authentication
Optional
CML_VERIFY_SSL- Verify SSL certificates (default:false)DEBUG- Enable debug logging (default:false)PYATS_USERNAME- Device username for CLI commandsPYATS_PASSWORD- Device password for CLI commandsPYATS_AUTH_PASS- Device enable password for CLI commands
HTTP Transport Mode
CML_MCP_TRANSPORT- Set tohttpfor HTTP mode (default:stdio)CML_MCP_BIND- IP address to bind HTTP server (default:0.0.0.0)CML_MCP_PORT- Port for HTTP server (default:9000)CML_ALLOWED_URLS- Comma-separated list of allowed CML URLs in HTTP modeCML_URL_PATTERN- Regex pattern for allowed CML URLs (alternative toCML_ALLOWED_URLS)
Test Environment Variables
USE_MOCKS- Use mock data instead of live CML server (default:true)
Troubleshooting
Common Issues
"Module not found" or import errors
Make sure you've installed the package with all extras if you need PyATS support:
uvx cml-mcp[pyats]  # For uvx installations
# or
uv sync --all-extras  # For development
SSL Certificate Errors
If you're using a self-signed certificate on your CML server, set:
CML_VERIFY_SSL=false
For HTTP mode with mcp-remote, also set:
"env": {
  "NODE_TLS_REJECT_UNAUTHORIZED": "0"
}
Authentication failures in HTTP mode
Ensure your Base64-encoded credentials are correct:
# Test encoding (should match what you put in headers)
echo -n "username:password" | base64
PyATS command execution fails
- Ensure PyATS is installed (
cml-mcp[pyats]oruv sync --all-extras) - Verify
PYATS_USERNAME,PYATS_PASSWORD, andPYATS_AUTH_PASSare set correctly - On Windows, use WSL or Docker for PyATS support
Tests failing
If tests fail in mock mode, ensure you haven't accidentally enabled live mode:
# Explicitly use mocks
export USE_MOCKS=true
pytest tests/
Getting Help
- Check the Issues page for known problems
- See CONTRIBUTING.md for how to report bugs
- Review tests/README.md for testing documentation
License
The MCP server portion of this project is licensed under the BSD 2-Clause "Simplified" License. However, it leverages the pydantic schema typing code from CML itself, which is covered under a proprietary Cisco license.