NotebookLM MCP Server
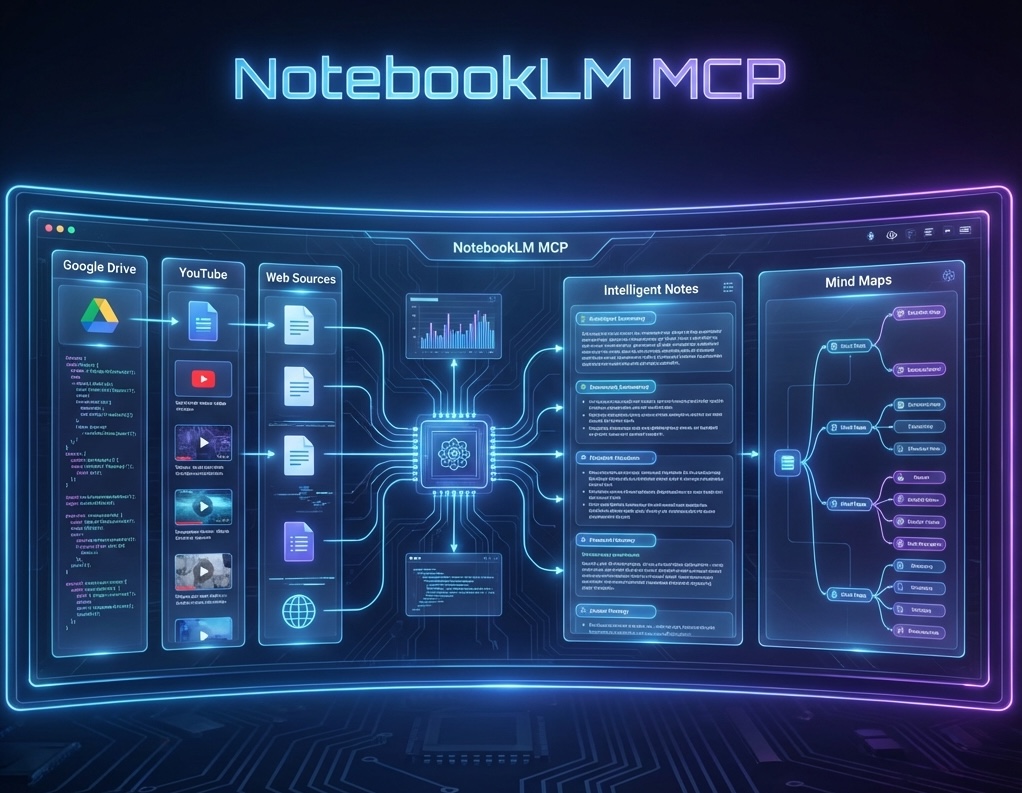
An MCP server for NotebookLM (notebooklm.google.com).
Note: Tested with Pro/free tier accounts. May work with NotebookLM Enterprise accounts but has not been tested.
📺 Watch the Demos
| General Overview | Claude Desktop | Perplexity Desktop |
|---|---|---|
 |  |  |
Features
| Tool | Description |
|---|---|
notebook_list | List all notebooks |
notebook_create | Create a new notebook |
notebook_get | Get notebook details with sources |
notebook_describe | Get AI-generated summary of notebook content |
source_describe | Get AI-generated summary and keywords for a source |
source_get_content | Get raw text content from a source (no AI processing) |
notebook_rename | Rename a notebook |
chat_configure | Configure chat goal/style and response length |
notebook_delete | Delete a notebook (requires confirmation) |
notebook_add_url | Add URL/YouTube as source |
notebook_add_text | Add pasted text as source |
notebook_add_drive | Add Google Drive document as source |
notebook_query | Ask questions and get AI answers |
source_list_drive | List sources with freshness status |
source_sync_drive | Sync stale Drive sources (requires confirmation) |
source_delete | Delete a source from notebook (requires confirmation) |
research_start | Start Web or Drive research to discover sources |
research_status | Poll research progress with built-in wait |
research_import | Import discovered sources into notebook |
audio_overview_create | Generate audio podcasts (requires confirmation) |
video_overview_create | Generate video overviews (requires confirmation) |
infographic_create | Generate infographics (requires confirmation) |
slide_deck_create | Generate slide decks (requires confirmation) |
studio_status | Check studio artifact generation status |
studio_delete | Delete studio artifacts (requires confirmation) |
save_auth_tokens | Save cookies for authentication |
Important Disclaimer
This MCP uses internal APIs that:
- Are undocumented and may change without notice
- Require cookie extraction from your browser (I have a tool for that!)
Use at your own risk for personal/experimental purposes.
Installation
Install from PyPI using your preferred Python package manager:
Using uv (Recommended)
uv tool install notebooklm-mcp-server
Using pip
pip install notebooklm-mcp-server
Using pipx
pipx install notebooklm-mcp-server
Alternative: Install from Source
# Clone the repository
git clone https://github.com/jacob-bd/notebooklm-mcp.git
cd notebooklm-mcp

# Install with uv
uv tool install .
Upgrading
# Using uv
uv tool upgrade notebooklm-mcp-server

# Using pip
pip install --upgrade notebooklm-mcp-server

# Using pipx
pipx upgrade notebooklm-mcp-server
After upgrading, restart your AI tool to reconnect to the updated MCP server:
- Claude Code: Restart the application, or use
/mcpto reconnect - Cursor: Restart the application
- Gemini CLI: Restart the CLI session
Uninstalling
To completely remove the MCP:
# Using uv
uv tool uninstall notebooklm-mcp-server

# Using pip
pip uninstall notebooklm-mcp-server

# Using pipx
pipx uninstall notebooklm-mcp-server

# Remove cached auth tokens (optional)
rm -rf ~/.notebooklm-mcp
Also remove from your AI tools:
| Tool | Command |
|---|---|
| Claude Code | claude mcp remove notebooklm-mcp |
| Gemini CLI | gemini mcp remove notebooklm-mcp |
| Cursor/VS Code | Remove entry from ~/.cursor/mcp.json or ~/.vscode/mcp.json |
Authentication
Before using the MCP, you need to authenticate with NotebookLM. Run:
# Recommended: Auto mode (launches Chrome, you log in)
notebooklm-mcp-auth

# Alternative: File mode (manual cookie extraction)
notebooklm-mcp-auth --file
Auto mode launches a dedicated Chrome profile, you log in to Google, and cookies are extracted automatically. Your login persists for future auth refreshes.
File mode shows instructions for manually extracting cookies from Chrome DevTools and saving them to a file.
After successful auth, add the MCP to your AI tool and restart.
For detailed instructions, troubleshooting, and how the authentication system works, see docs/AUTHENTICATION.md.
MCP Configuration
⚠️ Context Window Warning: This MCP provides 31 tools which consume a significant portion of your context window. It's recommended to disable the MCP when not actively using NotebookLM to preserve context for your other work. In Claude Code, use
@notebooklm-mcpto toggle it on/off, or use/mcpcommand.
No environment variables needed - the MCP uses cached tokens from ~/.notebooklm-mcp/auth.json.
Claude Code (Recommended CLI Method)
Use the built-in CLI command to add the MCP server:
Add for all projects (recommended):
claude mcp add --scope user notebooklm-mcp notebooklm-mcp
Or add for current project only:
claude mcp add notebooklm-mcp notebooklm-mcp
That's it! Restart Claude Code to use the MCP tools.
Verify installation:
claude mcp list
Alternative: Manual JSON Configuration
If you prefer to edit the config file manually, add to ~/.claude.json:
{
  "mcpServers": {
    "notebooklm-mcp": {
      "command": "notebooklm-mcp"
    }
  }
}
Restart Claude Code after editing.
Cursor, VS Code, Claude Desktop & Other IDEs
For tools that use JSON configuration files:
| Tool | Config File Location |
|---|---|
| Cursor | ~/.cursor/mcp.json |
| VS Code | ~/.vscode/mcp.json |
| Claude Desktop | ~/Library/Application Support/Claude/claude_desktop_config.json (macOS) |
Step 1: Find your installed path:
which notebooklm-mcp
This typically returns /Users/<YOUR_USERNAME>/.local/bin/notebooklm-mcp on macOS.
Step 2: Add this configuration (replace the path with your result from Step 1):
{
  "mcpServers": {
    "notebooklm-mcp": {
      "command": "/Users/<YOUR_USERNAME>/.local/bin/notebooklm-mcp"
    }
  }
}
Restart the application after adding the configuration.
Other MCP-Compatible Tools
CLI tools with built-in MCP commands (AIDER, Codex, OpenCode, etc.):
<your-tool> mcp add notebooklm-mcp notebooklm-mcp
Tools using JSON config files — use the full path approach shown above.
Gemini CLI (Recommended CLI Method)
Use the built-in CLI command to add the MCP server:
Add for all projects (recommended):
gemini mcp add --scope user notebooklm-mcp notebooklm-mcp
Or add for current project only:
gemini mcp add notebooklm-mcp notebooklm-mcp
That's it! Restart Gemini CLI to use the MCP tools.
Verify installation:
gemini mcp list
Alternative: Manual JSON Configuration
Add to ~/.gemini/settings.json under mcpServers (run which notebooklm-mcp to find your path):
"notebooklm-mcp": {
  "command": "/Users/<YOUR_USERNAME>/.local/bin/notebooklm-mcp"
}
Restart Gemini CLI after editing.
Managing Context Window Usage
Since this MCP has 31 tools, it's good practice to disable it when not in use:
Claude Code:
# Toggle on/off by @-mentioning in chat
@notebooklm-mcp

# Or use the /mcp command to enable/disable
/mcp
Cursor/Gemini CLI:
- Comment out the server in your config file when not needed
- Or use your tool's MCP management features if available
What You Can Do
Simply chat with your AI tool (Claude Code, Cursor, Gemini CLI) using natural language. Here are some examples:
Research & Discovery
- "List all my NotebookLM notebooks"
- "Create a new notebook called 'AI Strategy Research'"
- "Start web research on 'enterprise AI ROI metrics' and show me what sources it finds"
- "Do a deep research on 'cloud marketplace trends' and import the top 10 sources"
- "Search my Google Drive for documents about 'product roadmap' and create a notebook"
Adding Content
- "Add this URL to my notebook: https://example.com/article"
- "Add this YouTube video about Kubernetes to the notebook"
- "Add my meeting notes as a text source to this notebook"
- "Import this Google Doc into my research notebook"
AI-Powered Analysis
- "What are the key findings in this notebook?"
- "Summarize the main arguments across all these sources"
- "What does this source say about security best practices?"
- "Get an AI summary of what this notebook is about"
- "Configure the chat to use a learning guide style with longer responses"
Content Generation
- "Create an audio podcast overview of this notebook in deep dive format"
- "Generate a video explainer with classic visual style"
- "Make a briefing doc from these sources"
- "Create flashcards for studying, medium difficulty"
- "Generate an infographic in landscape orientation"
- "Build a mind map from my research sources"
- "Create a slide deck presentation from this notebook"
Smart Management
- "Check which Google Drive sources are out of date and sync them"
- "Show me all the sources in this notebook with their freshness status"
- "Delete this source from the notebook"
- "Check the status of my audio overview generation"
Pro tip: After creating studio content (audio, video, reports, etc.), poll the status to get download URLs when generation completes.
Authentication Lifecycle
| Component | Duration | Refresh |
|---|---|---|
| Cookies | ~2-4 weeks | Re-extract from Chrome when expired |
| CSRF Token | Per MCP session | Auto-extracted on MCP start |
| Session ID | Per MCP session | Auto-extracted on MCP start |
When cookies expire, you'll see an auth error. Just extract fresh cookies and call save_auth_tokens() again.
Troubleshooting
Chrome DevTools MCP Not Working (Cursor/Gemini CLI)
If Chrome DevTools MCP shows "no tools, prompts or resources" or fails to start, it's likely due to a known npx bug with the puppeteer-core module.
Symptoms:
- Cursor/Gemini CLI shows MCP as connected but with "No tools, prompts, or resources"
- Process spawn errors in logs:
spawn pnpx ENOENTor module not found errors - Can't extract cookies for NotebookLM authentication
Fix:
-
Install pnpm (if not already installed):
npm install -g pnpm -
Update Chrome DevTools MCP configuration:
For Cursor (
~/.cursor/mcp.json):"chrome-devtools": { "command": "pnpm", "args": ["dlx", "chrome-devtools-mcp@latest", "--browser-url=http://127.0.0.1:9222"] }For Gemini CLI (
~/.gemini/settings.json):"chrome-devtools": { "command": "pnpm", "args": ["dlx", "chrome-devtools-mcp@latest"] } -
Restart your IDE/CLI for changes to take effect.
Why this happens: Chrome DevTools MCP uses puppeteer-core which changed its module path in v23+, but npx caching behavior causes module resolution failures. Using pnpm dlx avoids this issue.
Related Issues:
- ChromeDevTools/chrome-devtools-mcp#160
- ChromeDevTools/chrome-devtools-mcp#111
- ChromeDevTools/chrome-devtools-mcp#221
Limitations
- Rate limits: Free tier has ~50 queries/day
- No official support: API may change without notice
- Cookie expiration: Need to re-extract cookies every few weeks
Contributing
See CLAUDE.md for detailed API documentation and how to add new features.
Vibe Coding Alert
Full transparency: this project was built by a non-developer using AI coding assistants. If you're an experienced Python developer, you might look at this codebase and wince. That's okay.
The goal here was to scratch an itch - programmatic access to NotebookLM - and learn along the way. The code works, but it's likely missing patterns, optimizations, or elegance that only years of experience can provide.
This is where you come in. If you see something that makes you cringe, please consider contributing rather than just closing the tab. This is open source specifically because human expertise is irreplaceable. Whether it's refactoring, better error handling, type hints, or architectural guidance - PRs and issues are welcome.
Think of it as a chance to mentor an AI-assisted developer through code review. We all benefit when experienced developers share their knowledge.
License
MIT License