Roblox MCP
MCP server and plugin for Roblox Studio — control scripts, terrain, assets, and lighting with Claude Code, Cursor, Codex, and Gemini.
English | 한국어 | 日本語 | Español | Português | Bahasa Indonesia
Quick Install (5 minutes)
Step 1 — Install the Roblox Studio plugin (bridge between Studio and AI): Plugin Installation Guide
Step 2 — Register the MCP server with your AI app:
npx -y @weppy/roblox-mcp
| AI App | Guide |
|---|---|
| Claude Code | Setup |
| Claude Desktop | Setup |
| Codex CLI | Setup |
| Codex Desktop | Setup |
| Gemini CLI | Setup |
Any MCP-compatible AI client works. The server command is
npx -y @weppy/roblox-mcp.
Compatibility
| Claude Code | Claude Desktop | Cursor | Codex CLI | Gemini CLI |
|---|---|---|---|---|
| ✅ | ✅ | ✅ | ✅ | ✅ |
Requirements: Node.js 18+, Roblox Studio, Windows 10+ or macOS 12+
What It Does
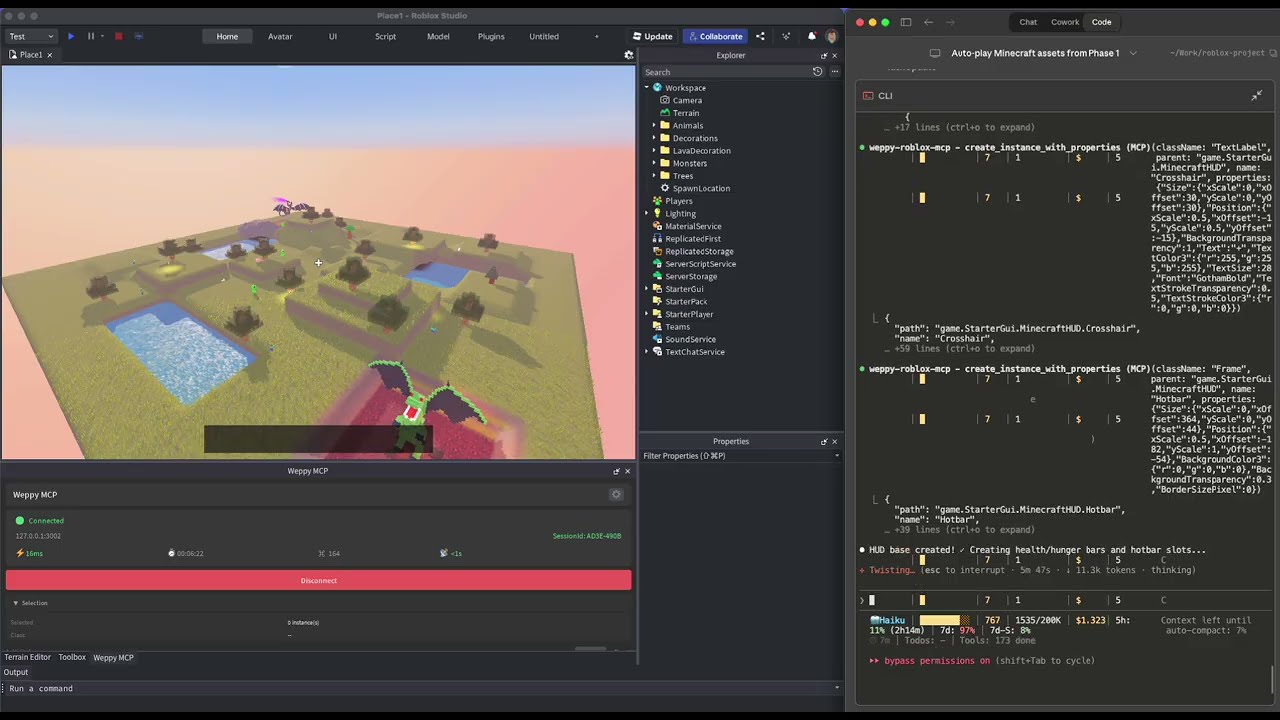
1) MCP Tools: Direct execution in Studio from natural language
AI can directly handle scripts, instances, properties, terrain, lighting, assets, audio, and animation inside Studio.
- "Add particles + sound + cooldown when the player jumps."
- "Build a boss arena at map center and place collision-safe spawn points."
- "Change this module interface and update every dependent script."
This is not just code generation. It is executable, production-oriented actions.
2) Sync: Keep full project context stable for AI
AI works from a synchronized local mirror, so multi-file updates stay consistent.
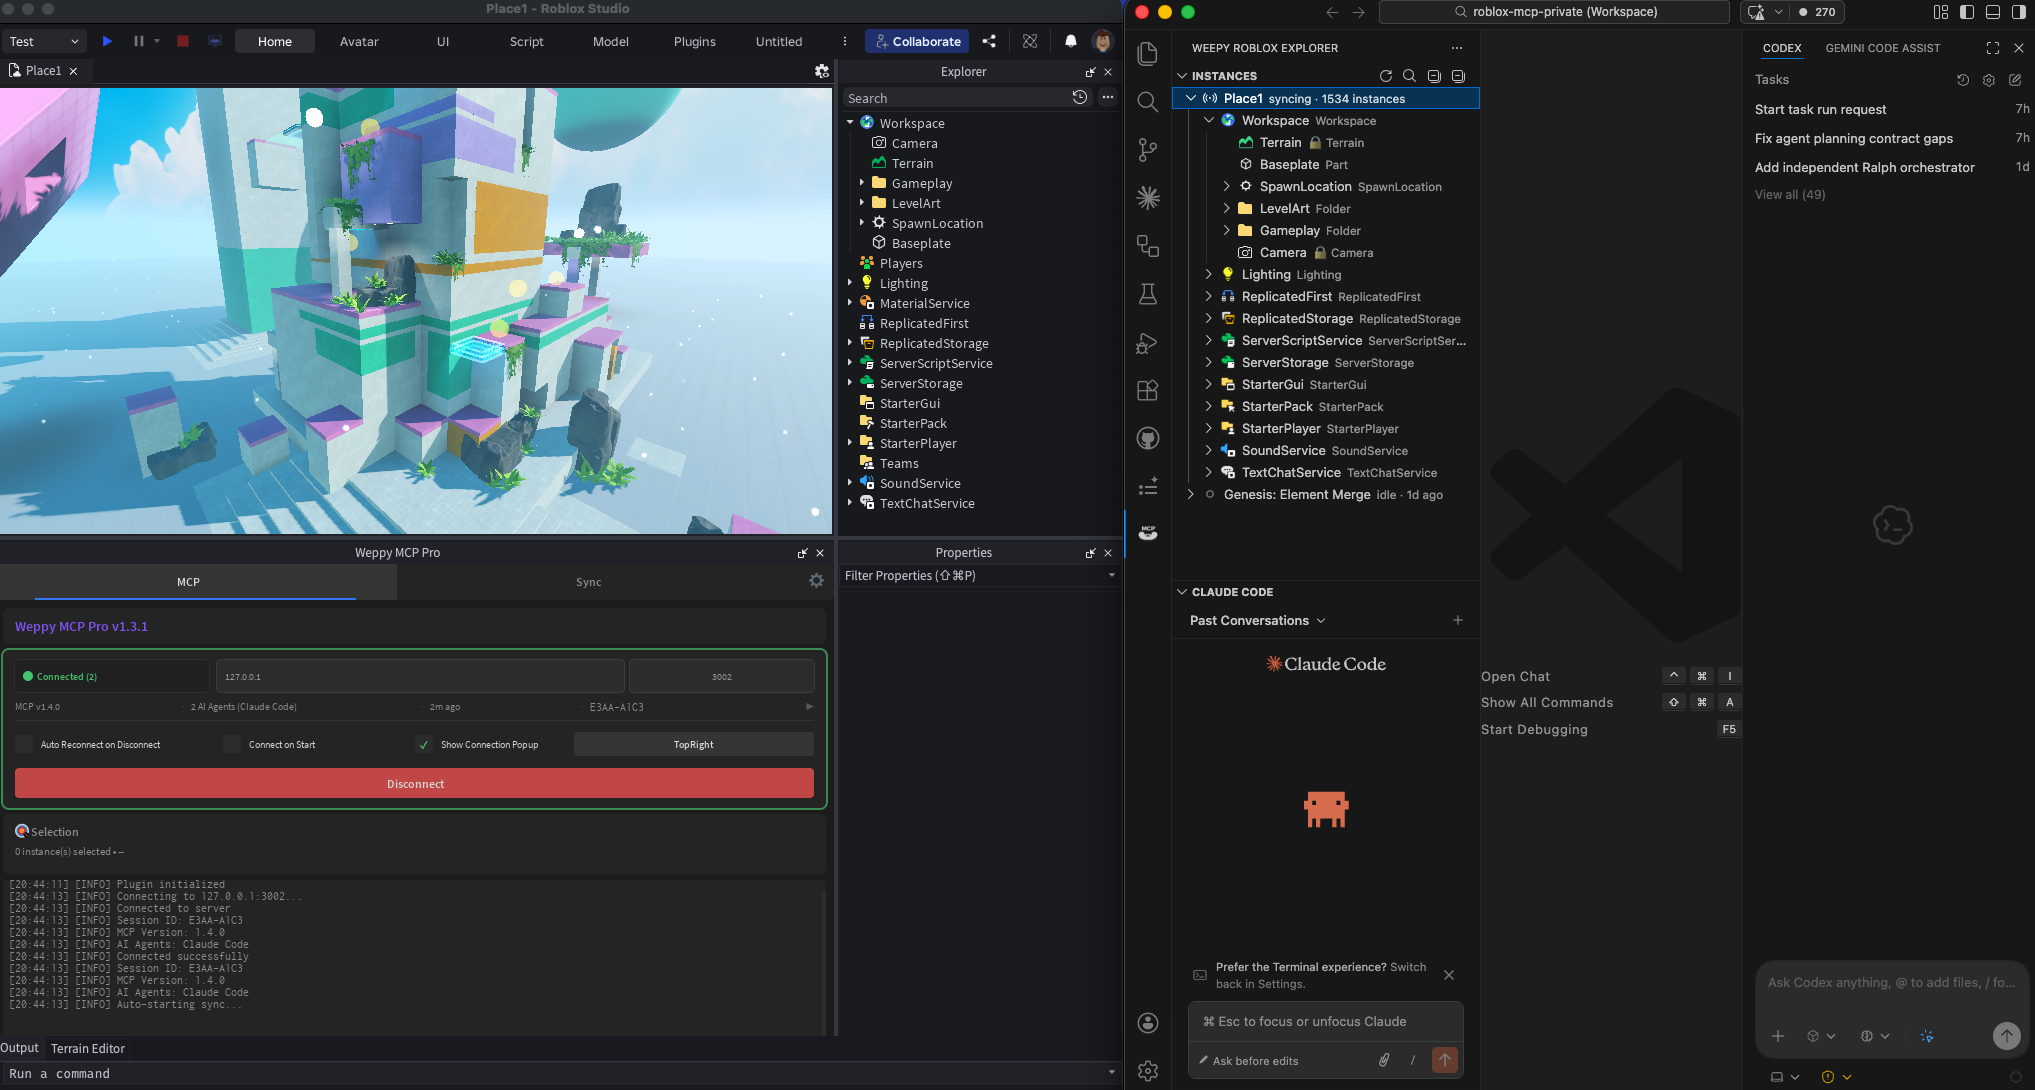
- Basic: one-way sync (Studio -> Local)
- Pro: bidirectional sync + per-type Direction/Apply Mode + history + multi-place
Why It Matters
- Compress repetitive work: turn many manual edits into one request
- Change related files together: not just one target file
- Lower risk: rely on sync state and history before applying changes
- Better token efficiency (Pro): reduce round trips with bulk actions
Docs
Pro Upgrade
Bidirectional Sync, advanced build capabilities, and AI token efficiency — all in one upgrade.